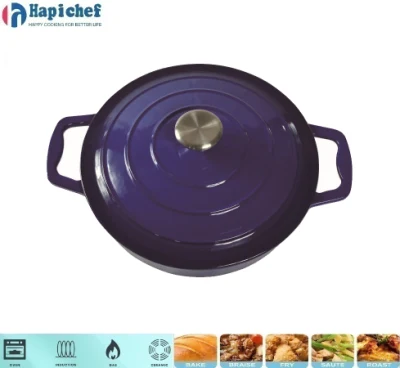
How to Properly Oil and Season Your Cast Iron Skillet for Optimal Use
Oiling a Cast Iron Pan The Key to Longevity and Performance
Cast iron pans have been a staple in kitchens for centuries, cherished for their ability to retain heat and evenly distribute it. However, the secret to maintaining their performance and longevity lies in proper seasoning and regular oiling. This article will explore the steps to oiling a cast iron pan effectively, ensuring it remains a versatile tool in your culinary arsenal.
Understanding the Importance of Oiling
Oiling a cast iron pan is not merely a matter of aesthetics; it is a crucial step in the seasoning process. Seasoning refers to the layer of polymerized oil that develops on the surface of the cast iron through heating, creating a natural non-stick coating. This layer protects the pan from rust and enhances its cooking capabilities. Regularly oiling your cast iron pan also helps to maintain this protective layer, ensuring that your cookware remains in optimal condition for years to come.
Choosing the Right Oil
Not all oils are created equal when it comes to seasoning cast iron. It’s essential to select oils with a high smoke point, as this allows the oil to heat without burning, resulting in a more effective seasoning layer. Popular choices include vegetable oil, flaxseed oil, grapeseed oil, and canola oil. Each of these oils has a smoke point above 400°F, allowing for proper polymerization during the seasoning process.
Prepping Your Pan
Before oiling your cast iron pan, it’s essential to start with a clean surface. If the pan is new, it may require washing with hot water and a mild soap to remove any protective coatings from manufacturing. For seasoned pans, if you notice rust or residue, you can scrub it with a stiff brush or fine steel wool. After cleaning, thoroughly dry the pan with a cloth or paper towel to prevent moisture from causing rust.
Oiling Process
oiling a cast iron pan

1. Apply Oil Pour a small amount of your chosen oil onto the surface of the pan. A teaspoon or two should suffice, depending on the size of your pan.
2. Spread Evenly Use a clean cloth or paper towel to spread the oil evenly over the entire surface of the pan, including the handle and the exterior. Be sure to coat any areas that may come into contact with food.
3. Remove Excess Oil After evenly spreading the oil, it's critical to wipe away any excess. A thin layer of oil is sufficient; too much oil can result in a sticky texture after baking. The goal is to have a glossy, even coating that won’t drip.
4. Bake the Pan To create that esteemed seasoned layer, place the oil-coated pan upside down in an oven preheated to 450°F. This method prevents excess oil from pooling in the pan. You can place a sheet of aluminum foil on the rack below to catch any drips. Bake the pan for about an hour, allowing the oil to polymerize.
5. Cool Down After an hour, turn off the oven and let the pan cool inside. This gradual cooling helps the seasoning set, further enhancing the durability of the non-stick surface.
Regular Maintenance
Regular maintenance is key to keeping your cast iron pan in top shape. After each use, clean the pan with hot water and a brush, avoiding soap if possible. After drying, apply a light coat of oil to maintain the seasoning and keep the pan protected from moisture.
Conclusion
Oiling a cast iron pan is a simple but effective process that significantly contributes to the pan's longevity and performance. By following these steps—selecting the right oil, preparing the pan, and maintaining it with regular oiling—you can ensure that your cast iron pan remains a cherished cooking companion for years to come. Embrace the art of oiling, and watch your cooking experience transform as you harness the full potential of this versatile kitchen tool.
-
Why Every Kitchen Needs a Casserole Cast Iron DishNewsJun.24,2025
-
Experience the Tradition and Quality of Cast Iron CookwareNewsJun.24,2025
-
Double Sided Cast Iron Grill PanNewsJun.24,2025
-
Cast Iron Dutch Ovens You’ll Actually UseNewsJun.24,2025
-
Buy Cast Iron Griddle for Everyday CookingNewsJun.24,2025
-
Barbecue Iron Grill Cooking PowerNewsJun.24,2025
-
Standard Product Lines from Cast Iron Cookware SuppliersNewsJun.11,2025
