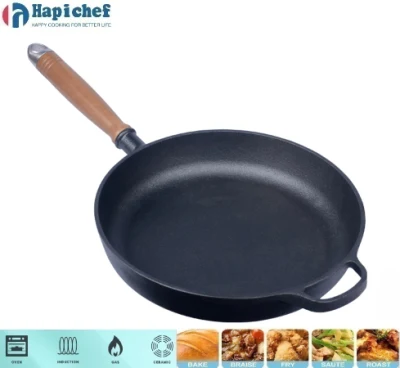
Reviving the Nonstick Surface of a Cast Iron Skillet with Reseasoning Techniques
Reseasoning a Cast Iron Pan A Guide for Home Cooks
Cast iron pans are renowned for their durability, heat retention, and ability to develop a natural non-stick surface when properly seasoned. However, seasoning can wear off over time, and regular maintenance is crucial for maintaining the pan's performance. Re-seasoning a cast iron pan rejuvenates its non-stick qualities and restores its protective coating, making it an essential skill for any home cook.
Understanding Seasoning
Seasoning refers to the process of applying oil to the surface of the cast iron and then heating it, allowing the oil to polymerize and form a hard, protective layer. This layer helps prevent rust, enhances the natural non-stick properties of the pan, and imparts flavor to the food cooked in it. When the seasoning starts to deteriorate, food may begin to stick, and rust may form, necessitating a re-seasoning.
Signs Your Pan Needs Re-seasoning
1. Rust Formation If you notice any rust spots on the surface of your pan, it's a clear indication that it needs to be re-seasoned. 2. Food Sticking If food starts sticking more than usual, the seasoning has likely worn off, and it's time to apply a fresh layer. 3. Dull Appearance A cast iron pan should have a shiny, black surface. If it looks dull or uneven, re-seasoning can restore its sheen. 4. Unpleasant Odors If your pan has absorbed unpleasant odors, re-seasoning can help eliminate them.
Steps to Re-season Your Cast Iron Pan
1. Clean the Pan Start by scrubbing the pan with hot water and a stiff brush. For tougher residues, you can use coarse salt as an abrasive. Avoid using soap, as this can strip the seasoning. If the rust is severe, you might need to use fine-grit sandpaper or a steel wool pad to remove it.
reseasoning a cast iron pan factories

2. Dry Thoroughly After cleaning, dry the pan thoroughly to prevent moisture from causing rust. You can place it on a low heat on the stove for a few minutes to ensure it's completely dry.
3. Apply Oil Choose a high-smoke point oil, such as flaxseed oil, grapeseed oil, or vegetable oil. Using a paper towel, spread a thin layer of oil over the entire surface of the pan, including the handle and exterior.
4. Heat the Pan Preheat your oven to 375°F (190°C). Place the pan upside down on the middle rack to prevent pooling of the oil. To catch any drips, place a baking sheet or aluminum foil on the lower rack. Bake the pan for about an hour.
5. Cool Down After an hour, turn off the oven and let the pan cool inside. This allows the new seasoning to set and bond with the metal.
6. Repeat if Necessary For a more robust seasoning, you can repeat the oiling and baking process several times.
Final Thoughts
Re-seasoning a cast iron pan is a straightforward process that can greatly enhance its lifespan and performance. With regular care, your cast iron pan will become a cherished kitchen companion, delivering delicious meals for years to come. Embrace the task of re-seasoning, and enjoy the benefits of cooking with a well-maintained cast iron pan!
-
Why Every Kitchen Needs a Casserole Cast Iron DishNewsJun.24,2025
-
Experience the Tradition and Quality of Cast Iron CookwareNewsJun.24,2025
-
Double Sided Cast Iron Grill PanNewsJun.24,2025
-
Cast Iron Dutch Ovens You’ll Actually UseNewsJun.24,2025
-
Buy Cast Iron Griddle for Everyday CookingNewsJun.24,2025
-
Barbecue Iron Grill Cooking PowerNewsJun.24,2025
-
Standard Product Lines from Cast Iron Cookware SuppliersNewsJun.11,2025
