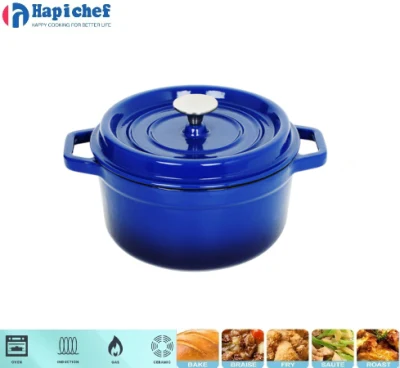
How to Effectively Strip and Restore a Cast Iron Skillet
Stripping a Cast Iron Skillet A Step-by-Step Guide
Cast iron skillets are beloved kitchen tools, celebrated for their excellent heat retention and even cooking. However, over time, they can accumulate layers of carbonized grease, rust, or a failed non-stick coating, losing their charm and functionality. Fortunately, stripping a cast iron skillet is a straightforward process that can restore it to its original glory. Here’s a comprehensive guide to help you through the process.
Why Strip a Cast Iron Skillet?
Before diving into the stripping process, it’s essential to understand why you might want to do it. A cast iron skillet can become discolored or develop a sticky surface due to years of use without proper seasoning or cleanup. Additionally, if your skillet was previously coated with a non-stick finish that has begun to flake, it’s essential to remove that layer for safe cooking. Stripping helps to reset the skillet, allowing you to re-season it perfectly, ensuring your food won’t stick and maintaining the robust, classic flavor that cast iron brings to dishes.
What You’ll Need
To effectively strip your cast iron skillet, you will require a few supplies - Oven cleaner or a mixture of vinegar and baking soda - Protective gloves and goggles - Plastic scrub brush or steel wool - A plastic trash bag - A well-ventilated workspace (preferably outside) - Cooking oil (for re-seasoning)
Step-by-Step Process
1. Safety First Put on your protective gloves and goggles. Stripping a skillet can involve harsh chemicals or abrasive materials, so precaution is necessary.
stripping a cast iron skillet

2. Apply the Stripping Agent If you’re using an oven cleaner, spray it liberally on the skillet’s surface. Ensure that all areas are covered. If you prefer a natural method, create a paste of vinegar and baking soda and apply it similarly. Once coated, place the skillet in a large plastic trash bag. Seal it tightly to contain the fumes and let it sit for 12 to 24 hours.
3. Scrub the Skillet After letting it sit, take out the skillet and begin scrubbing. Use the plastic scrub brush or steel wool to remove the stripped surface. You should see the old seasoning peel away. If needed, apply more cleaner and let it sit again for a few hours before retrying.
4. Wash Thoroughly Once you’ve removed all the old layers, wash the skillet with warm, soapy water. This step is crucial to remove any residue from the stripping agent. Rinse well and dry thoroughly with a clean towel or by heating it on low heat on the stove.
5. Re-season the Skillet The final step in restoring your cast iron skillet is re-seasoning it. Preheat your oven to 375°F (190°C). Apply a thin layer of cooking oil (flaxseed oil, grapeseed oil, or vegetable oil work well) all over the skillet, including the handle and bottom. Place the skillet upside down in the oven, with a baking sheet below to catch any drips. Bake it for an hour, then turn off the oven and let the skillet cool inside.
6. Maintenance Tips To keep your newly stripped and seasoned skillet in excellent condition, always clean it with hot water after use, avoiding soap that can strip away the seasoning. Dry it immediately, and apply a light layer of oil to maintain its surface.
Conclusion
Stripping a cast iron skillet may seem daunting, but with the right approach, it can be an empowering process that extends the life of your beloved kitchen companion. Embrace the task, and enjoy the fruits of your labor when you cook with a beautifully restored cast iron skillet once again!
-
Standard Product Lines from Cast Iron Cookware SuppliersNewsJun.11,2025
-
Searing Techniques for Casserole Cast Iron DishNewsJun.11,2025
-
High-heat Searing on Cast Iron BBQ GrillNewsJun.11,2025
-
Dutch Oven Pizza TechniquesNewsJun.11,2025
-
Best Cast Iron Flat Top Grill for Home UseNewsJun.11,2025
-
Baking Bread in Enameled Cast Iron BakewareNewsJun.11,2025
-
The Science of Enameled Cast Iron Baking PanNewsJun.09,2025
